
ESP32-S31 Development Platform
ESP32-S31 provides dual-core RISC-V processing at up to 320 MHz and integrates Wi-Fi 6, Bluetooth 5.4 (LE + BR/EDR), Thread 1.4, and Zigbee 3.0, making it a hardware foundation for networked embedded projects.

ESP-Mosaico 是一款基于 ESP32-S31 的模块化 AIoT 与嵌入式开发板,结合设备端 Agent、触控界面和可扩展外设。它面向希望通过自然语言或 PC 端 AI 编程 Agent 构建、测试和部署实体设备应用的创作者与开发者。
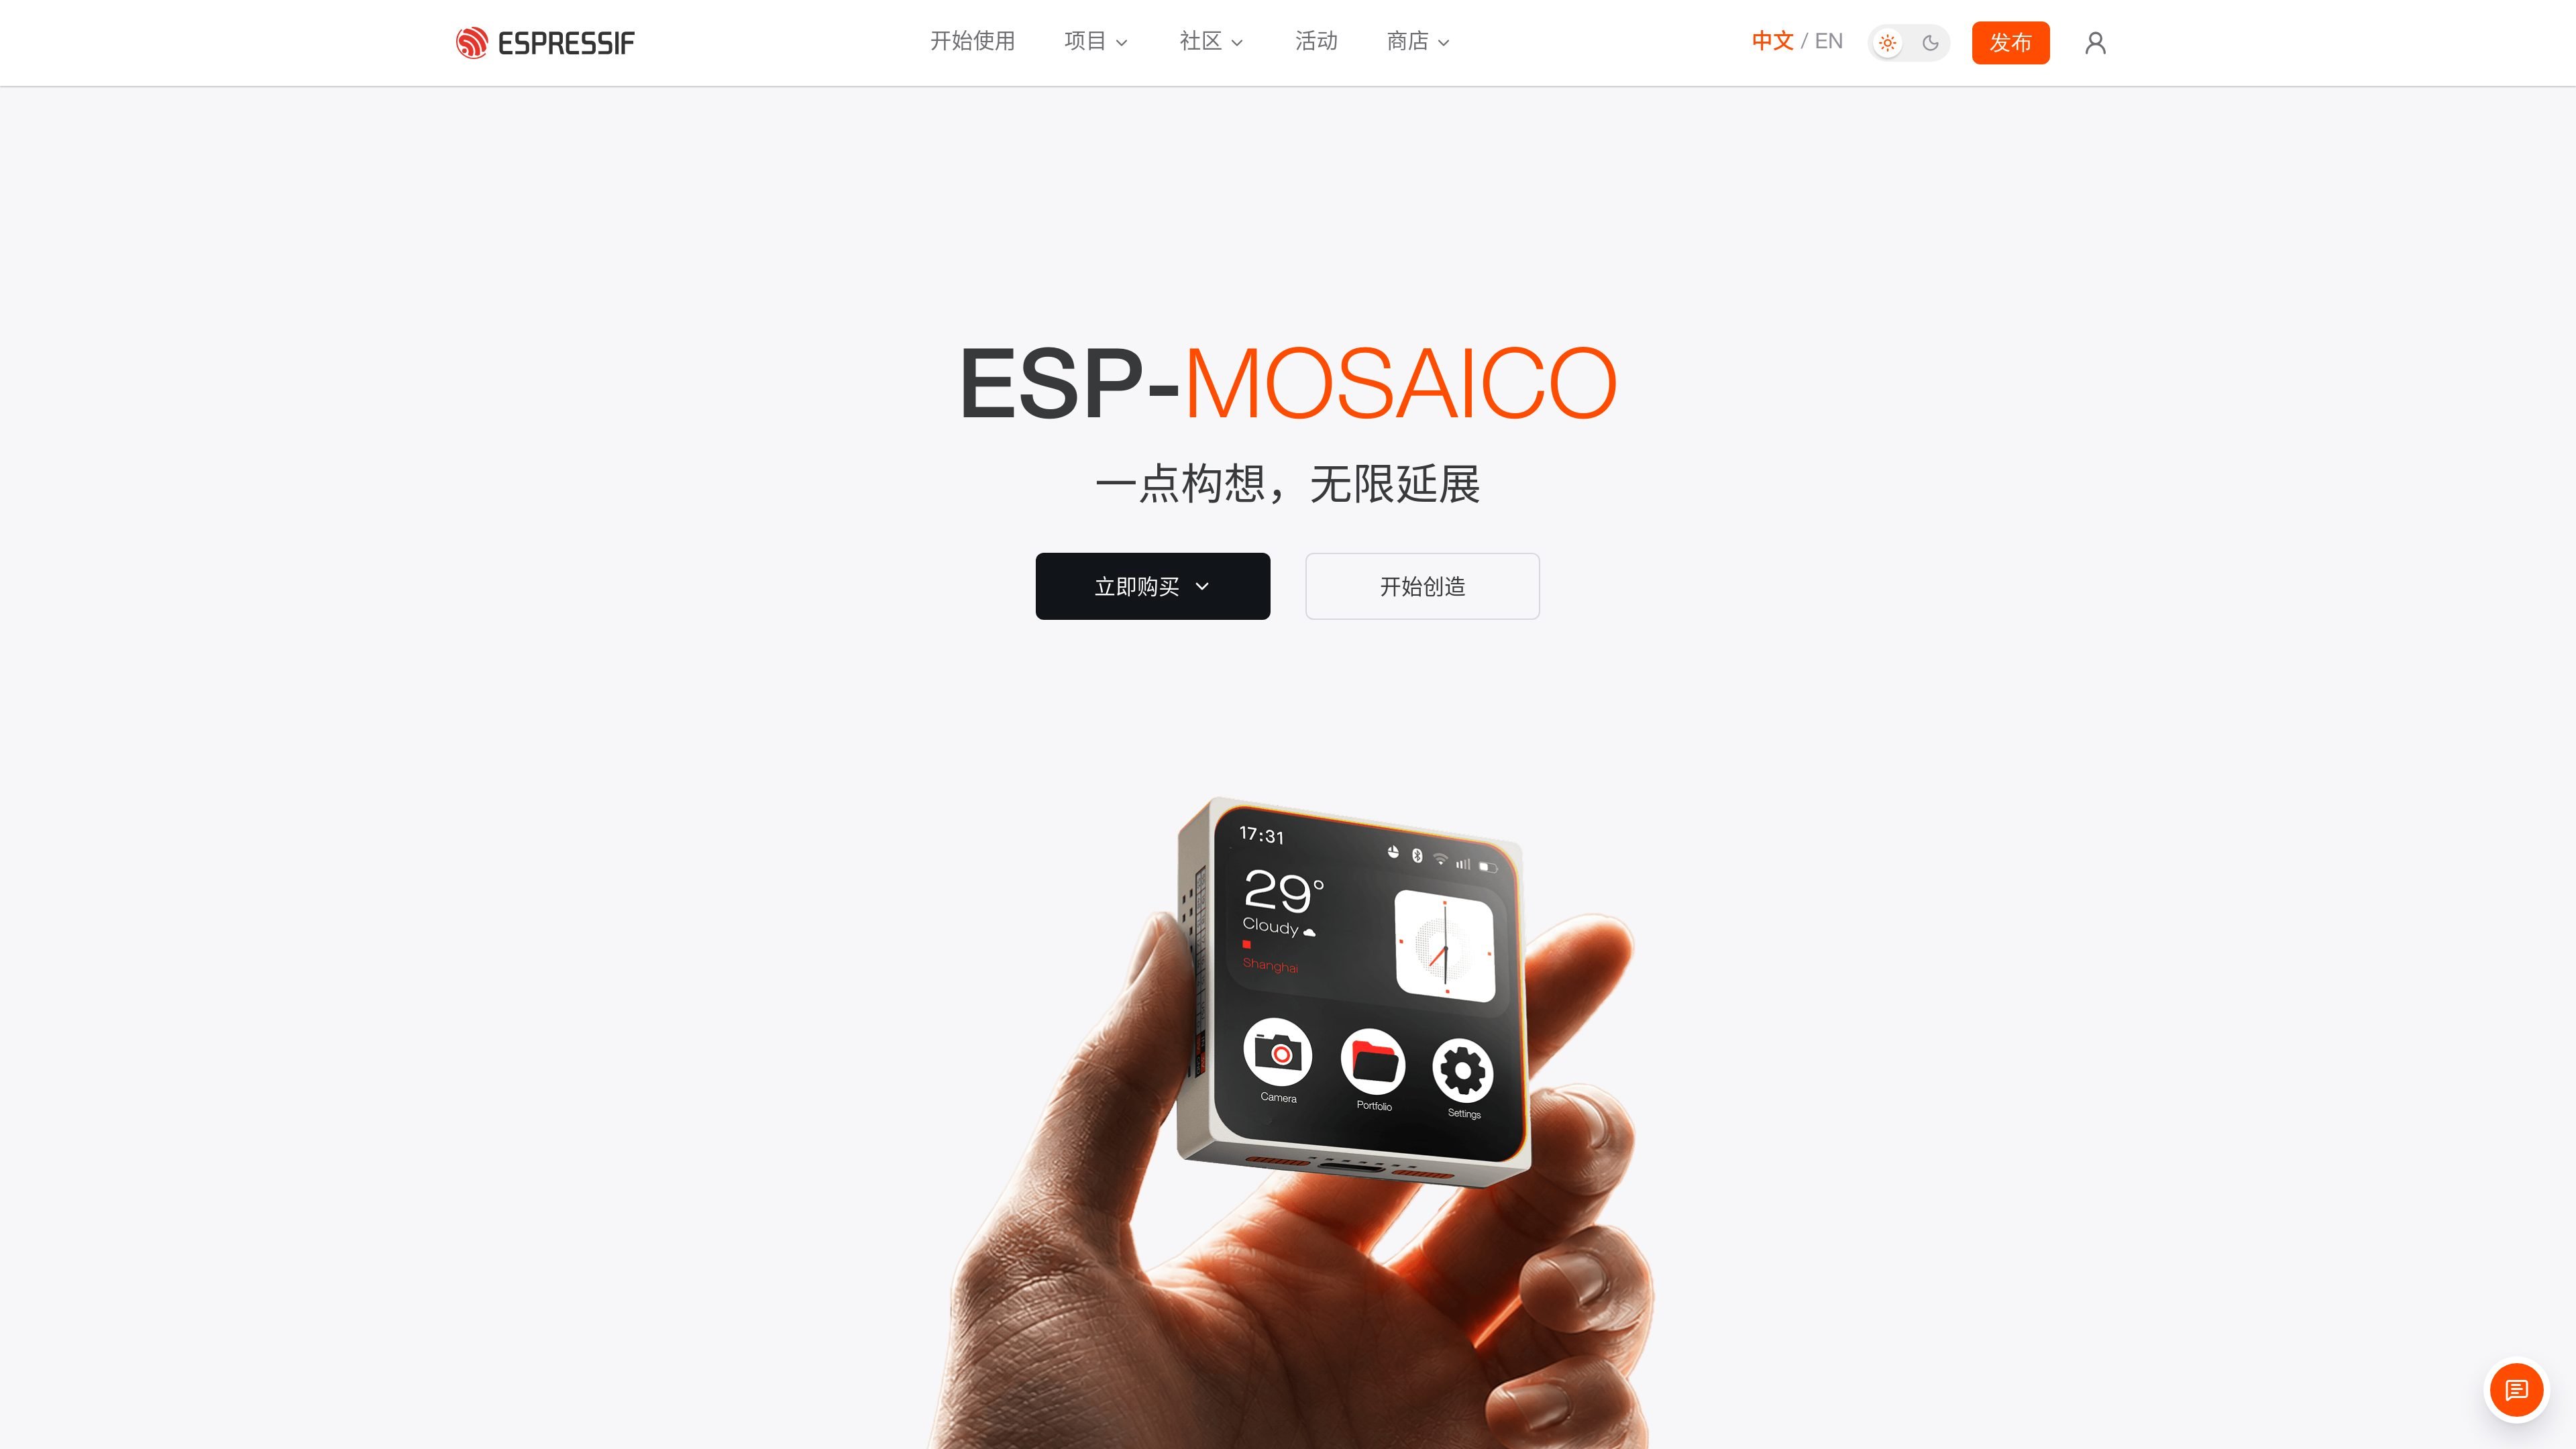
ESP-Mosaico is a modular development device for AIoT and embedded creation, based on Espressif ESP32-S31. It brings an on-device Agent, touch interface, network connectivity, and plug-in peripherals together on one hardware platform, allowing developers to iterate from idea validation to operation on a physical device.
The product supports two related workflows: Chat Coding uses natural language to create or adjust functions on the device, while Vibe Coding uses an AI coding Agent on a PC together with a simulator, debugging tools, and the physical device for coding, deployment, testing, and feedback. Expansion interfaces can connect modules such as an RGB matrix light for projects with physical interaction and visual effects.
ESP32-S31 provides dual-core RISC-V processing at up to 320 MHz and integrates Wi-Fi 6, Bluetooth 5.4 (LE + BR/EDR), Thread 1.4, and Zigbee 3.0, making it a hardware foundation for networked embedded projects.
The device features a 480 × 480 OLED touch display, a Type-C high-speed USB 2.0 port, and two 20-pin expansion interfaces. The factory-installed ESP-Claw firmware integrates touch applications, onboard peripherals, and the on-device Agent runtime.
In Chat Coding, users can send text requests through a bound WeChat account or another supported platform, or enter voice input on the device. ESP-Claw provides built-in skill types including quick questions, function creation, skill search, memory, planning, and scheduled tasks.
Vibe Coding combines an AI coding Agent on a PC with repository documentation, the ESP-GSP simulator, debugging tools, and the physical device to create a development loop. UI and interactions can be verified first and then deployed to the physical device for testing.
Expansion modules can connect peripherals. The 8×8 RGB matrix light module contains 64 WS2812C-2020-V6 RGB pixels for pixel patterns, animations, and status feedback. Modules can be inserted on the left or right side, and the mainboard identifies the module and installation side through EEPROM.
Describe a small function or automation requirement through Chat Coding, then save the function completed by the Agent to Work for repeated execution or further modification. Suitable for creators who want to quickly experiment with screen graphics, scheduled tasks, or Lua automation on the device.
Provide an AI coding Agent on a PC with the esp-mosaico-vibe repository and a specific task, such as implementing Snake. First verify the UI, interactions, and visual effects in the ESP-GSP simulator, then flash the result to the physical device for adjustment.
Use the two 20-pin expansion interfaces to connect peripherals. Follow the interface definitions for power, USB-Serial-JTAG, UART, or pins that can be initialized as general-purpose GPIO to build sensor, actuator, or other I/O projects.
Insert the 8×8 RGB matrix light module into the side of the mainboard to create pixel animations, expressions, icons, simple information displays, or operating-status prompts. The accompanying program can control 64 RGB pixels, and the mainboard can identify the installation side.
Use the Bluetooth audio application in the factory-installed firmware to connect to a phone for audio playback, and combine it with the optional 8×8 light matrix to run a music visualization application. Microphone mode can also convert ambient sound into real-time lighting effects.
You can use an AI coding Agent on a PC together with the esp-mosaico-vibe repository, ESP-GSP simulator, debugging tools, and the physical device to complete development, deployment, and testing. The guide lists Codex, Claude Code, OpenCode, and Trae as examples of optional Agents; connect the device to the computer using a USB cable that supports data transfer.
First, install or open Mosaico-Claw Idea in Vibe Mode, complete Wi-Fi configuration, and bind the device to WeChat or another supported platform. Send text conversations through the bound platform, or press and hold the input field in the device's Claw app to enter voice input. Chat Coding also requires available ASR and LLM services.
On the same local network, open the control panel using the IP address shown on the device settings page to configure Wi-Fi, LLM, ASR, network API services, and some skill and Lua options. The device must be restarted manually after changing settings. The ASR and LLM keys provided from the factory support the basic experience; configure your own model credentials when the quota is used up or stronger coding performance is needed.
The RGB matrix light module can be plugged into the left or right side of the mainboard. Its EEPROM allows the mainboard to identify the module type and installation side. Power off the device before installation, insert the module into the lower row of the mainboard's dual-row side connector, and confirm the orientation. Low brightness is recommended for initial testing.