Multi-input project starter
Start with an idea, script, webpage, PDF, or uploaded assets. Visla uses that input to shape the storyboard before generation begins.
Visla AI Director Mode streamlines storyboard-driven AI video creation, helping teams plan scenes, review visuals, and create consistent videos from scripts, webpages, PDFs, or assets.
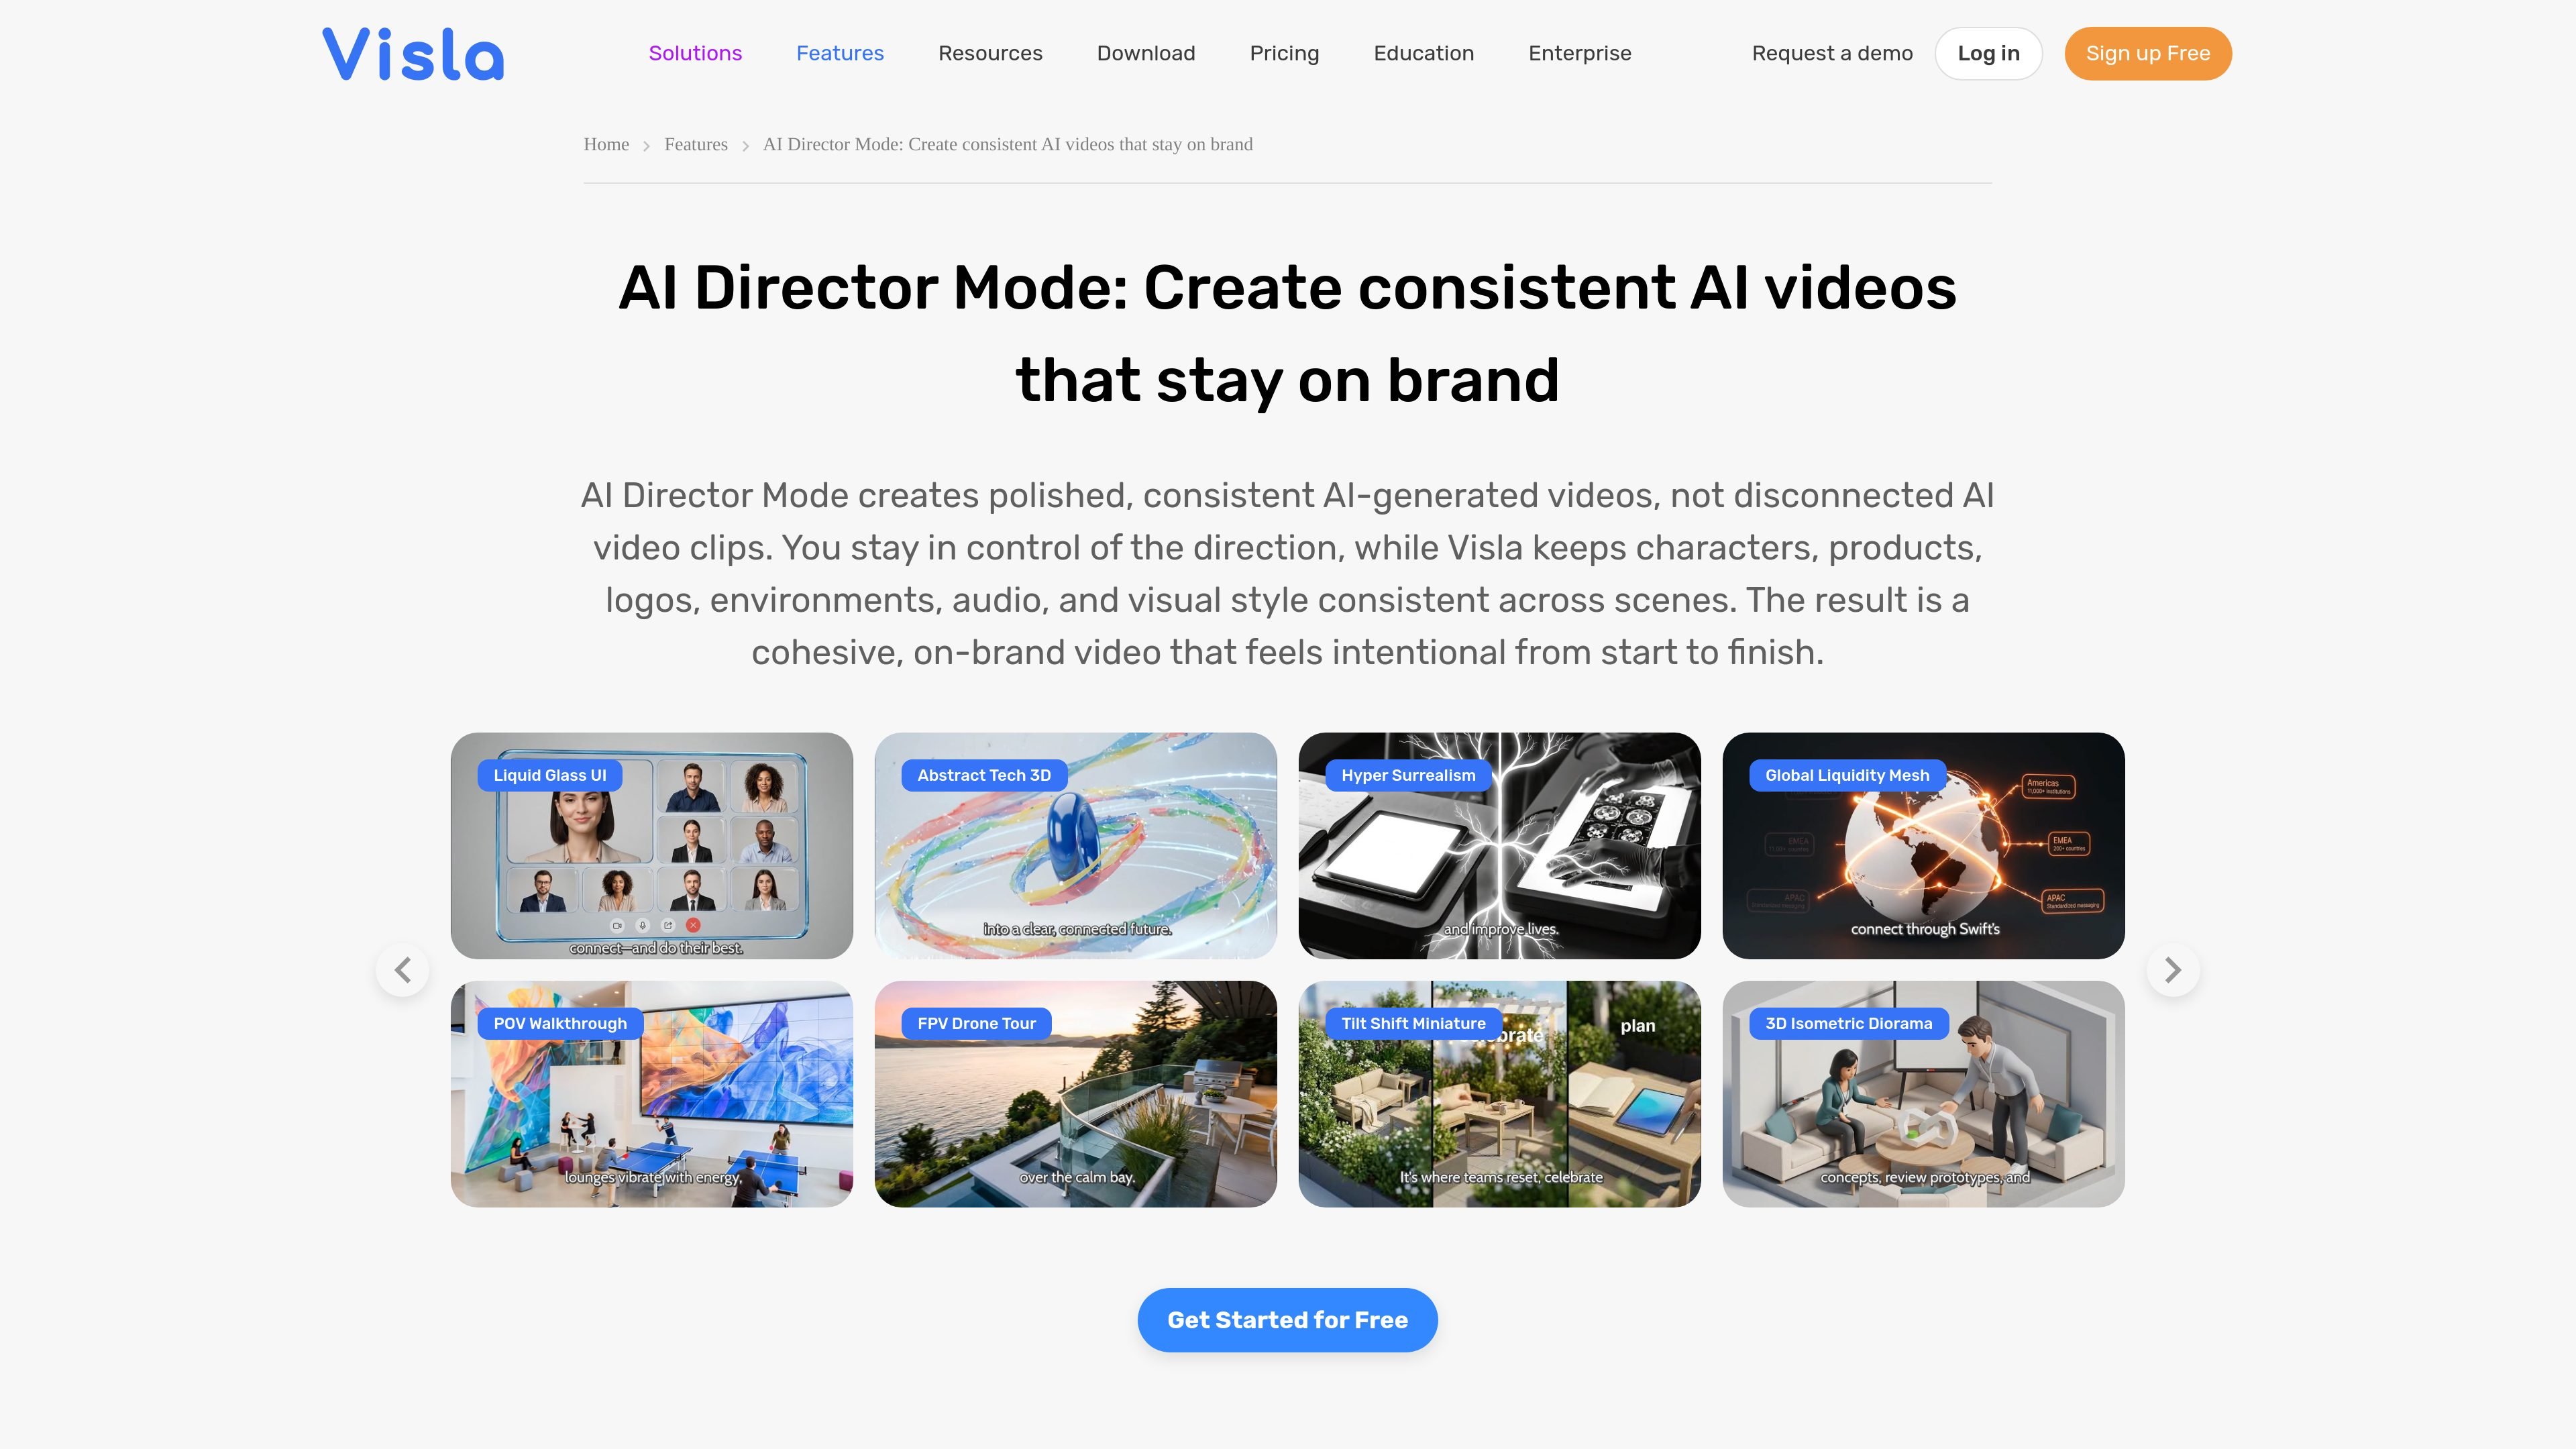
Visla AI Director Mode is a storyboard-first workflow for creating AI-generated videos with scene-by-scene control. Rather than producing disconnected clips, it helps you plan the story, review each scene, and generate approved video clips in a single workflow.
The product is built to keep characters, products, logos, environments, audio, and visual style consistent across scenes. Users can start from an idea, script, webpage, PDF, or uploaded assets, then guide the direction toward on-brand videos for marketing, sales, training, product explainers, and internal communications.
Start with an idea, script, webpage, PDF, or uploaded assets. Visla uses that input to shape the storyboard before generation begins.
The system suggests characters, products, logos, environments, and a visual style, then lets you edit, remove, or add elements before moving forward.
Each scene gets an AI-generated image and an editable prompt, so you can review direction before any AI video clip is generated.
Keep characters, products, logos, environments, visual style, and audio aligned across scenes to help the final video feel cohesive.
Apply brand colors and logos, then edit, export, and share the finished result for marketing, sales, training, internal comms, and related work.
Turn campaign briefs, landing pages, product images, and brand assets into consistent launch or promotion videos without rebuilding the process each time.
Create outreach or follow-up videos from a prospect pain point or message, then refine the scenes before generating the final video.
Convert SOPs, PDFs, and process documents into training videos with familiar visuals and optional presenters for clearer instruction.
Turn announcements, leadership notes, and internal documents into visual company updates that are easier to watch and understand.
Explain features with screenshots, notes, and feature descriptions while keeping product visuals and messaging aligned across scenes.
AI Director Mode is Visla’s workflow for planning and generating AI videos scene by scene. It starts from inputs such as an idea, script, webpage, PDF, or uploaded assets, then helps keep characters, products, logos, environments, and visual style consistent across the finished video.
AI Director Mode is designed to plan the full video before generating clips. That makes it different from tools that focus on isolated prompts or disconnected video clips, because the scenes are reviewed and approved as part of a single storyboard-driven workflow.
You can start with an idea, script, webpage, PDF, or uploaded assets. The page also describes it as useful for brand materials and for turning campaign briefs, product images, SOPs, PDFs, notes, screenshots, and feature descriptions into videos.
Yes. The workflow is built to keep key elements consistent across scenes, including characters, products, logos, environments, visual style, and audio. The page also says you can apply brand colors and logos so the video stays aligned with brand standards.
The page says the finished video can be edited, exported, and shared. It also notes that a polished 2-minute AI Director Mode video can often be created in one business day or less, depending on scene complexity and editing needs.
VIDEOAI.ME is an AI video generator for spokesperson videos, ads, explainers, and social content from a script without filming.
艺映AI is a free AI video creation tool for text-to-video, image-to-video, and video-to-video creation for short social and promo clips.
讯飞绘镜 (iFlytek Huijing) is an AI video creation platform that transforms creative ideas into scripts, storyboard images, and dynamic videos quickly and efficiently.
Topview AI is a web-based AI video creation platform for social ads, ecommerce creatives, avatar videos, and short drama workflows.
MIRA vision develops synthetic-data-driven AI for pathology image analysis, with privacy-compliant training data, automatic annotations and controlled data generation.
DANCING CATS App turns cat photos into dancing kitty clips. Simple, focused, and easy to use for playful pet-image edits.